With AT+Explore lets you add support for a device that the dev team does not officially supports.
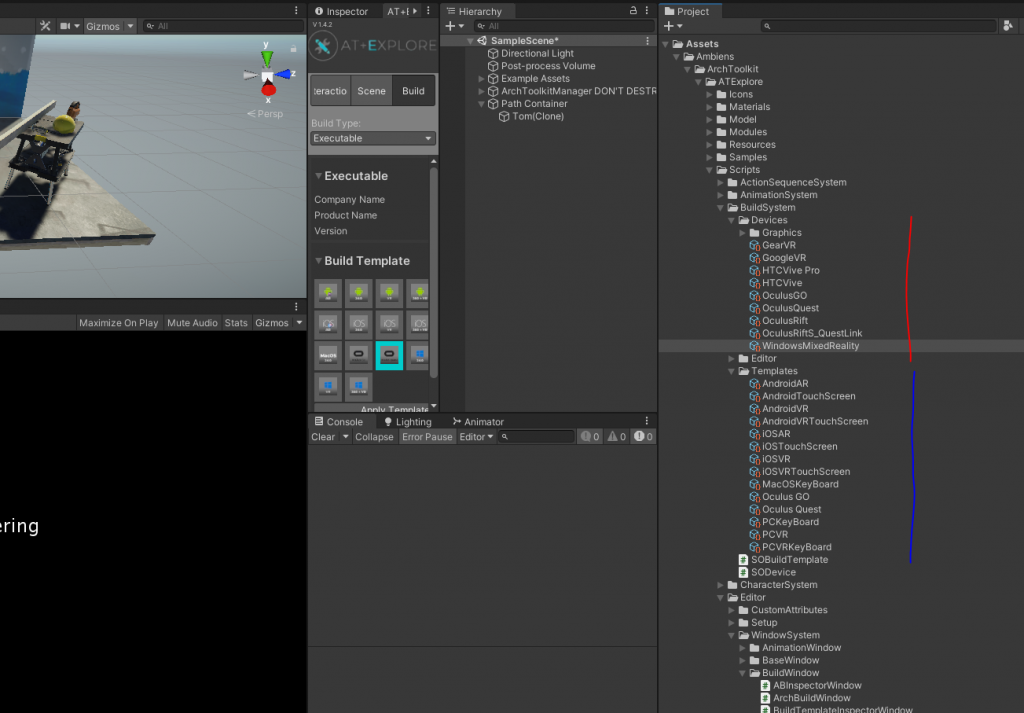
All the platforms in the build settings are available in the Devices folder under the Build System folder.
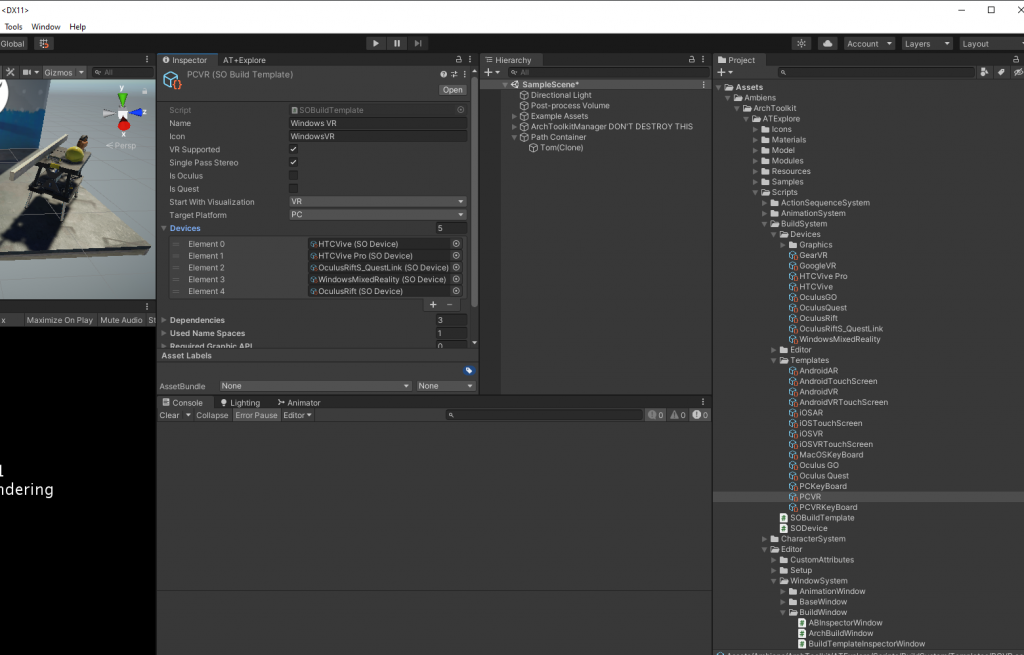
There’s a scriptable object for each template and when you select a template you have this inspector with a list of devices available (image below):
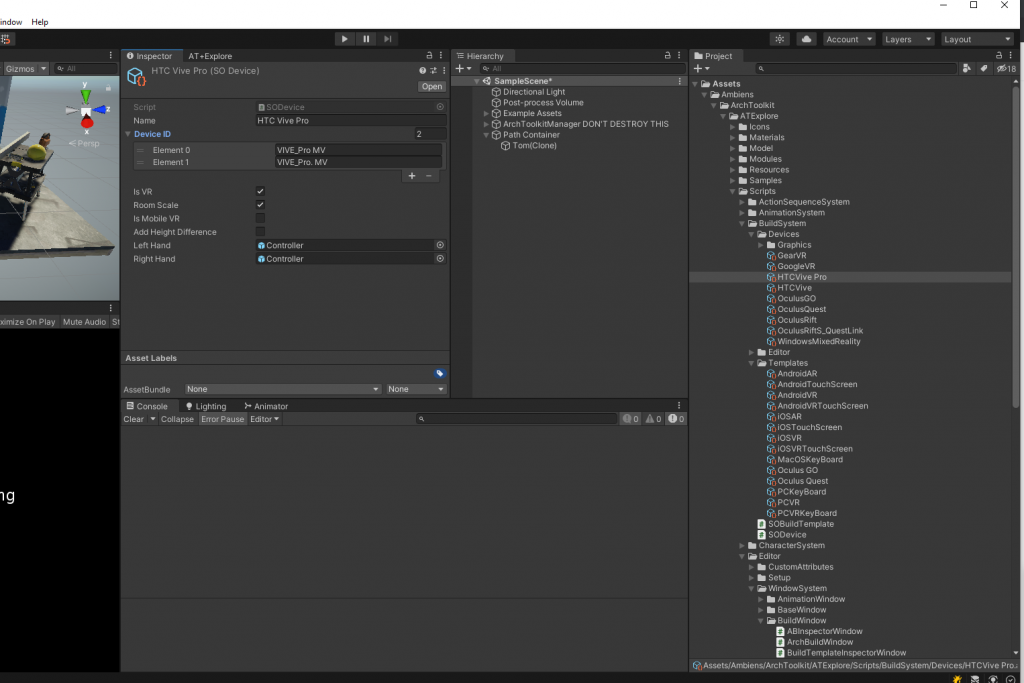
To add a new device or to edit all the information of the available device you can select the actual device (for example the vive pro here) and edit it (image below)
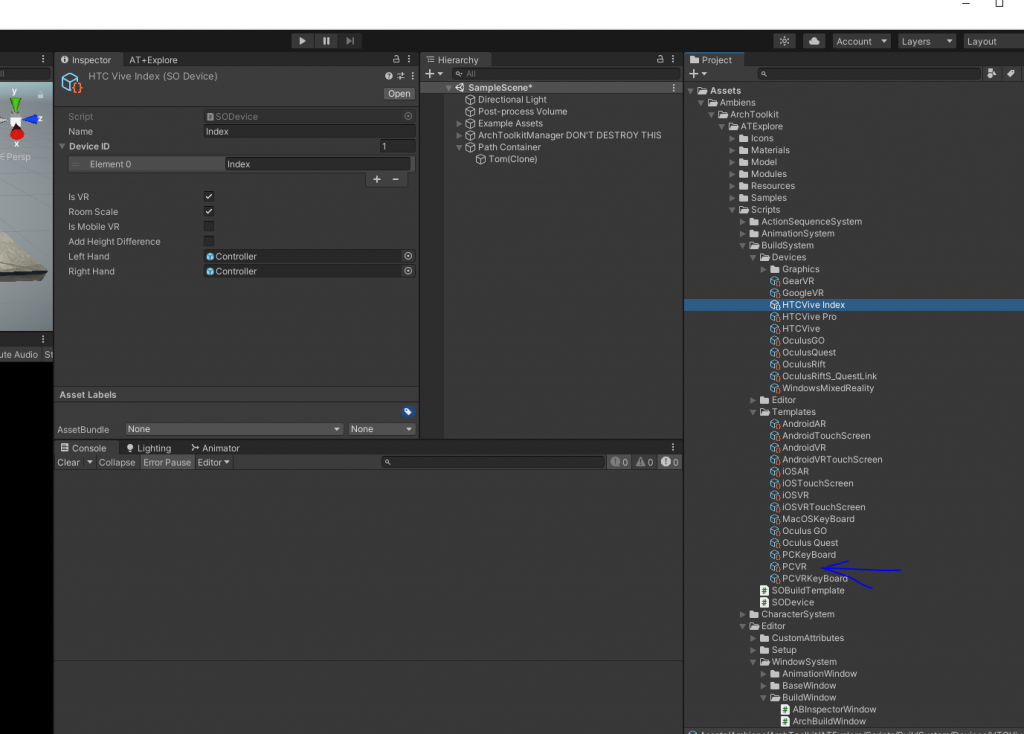
To add another device you can duplicate an existing device, for example the vive and in the device ID list you can add strings that are used by Unity to identify the device itself.
Those strings are spammed in the console while testing a device that is not recognized, so for example if you want to add support for the “Vive XXXX” you can press play in a VR scene, look at the console for the “Device ID”, then duplicate one of similar device as a starting point and add the Device ID in the right space (image below, first tests with the Vive Index).
Then you’ll need to add this to the list of PCVR devices supported: