If you need more complex or different interactions in the scene you can easily add a custom one without coding. In v.1.0.0, AT+Explore comes with the Action Sequence System, a visual scripting environment build on top of the basic interaction system.
You can easily create a custom action sequence by following the steps below based on the Kitchen Demo Scene:
STEP 1. Create or select the sequence holder

The sequence holder is a special GameObject that links the action sequence to the scene, this means that you can re-use your action sequences in multiple scenes just using another Sequence Holder.
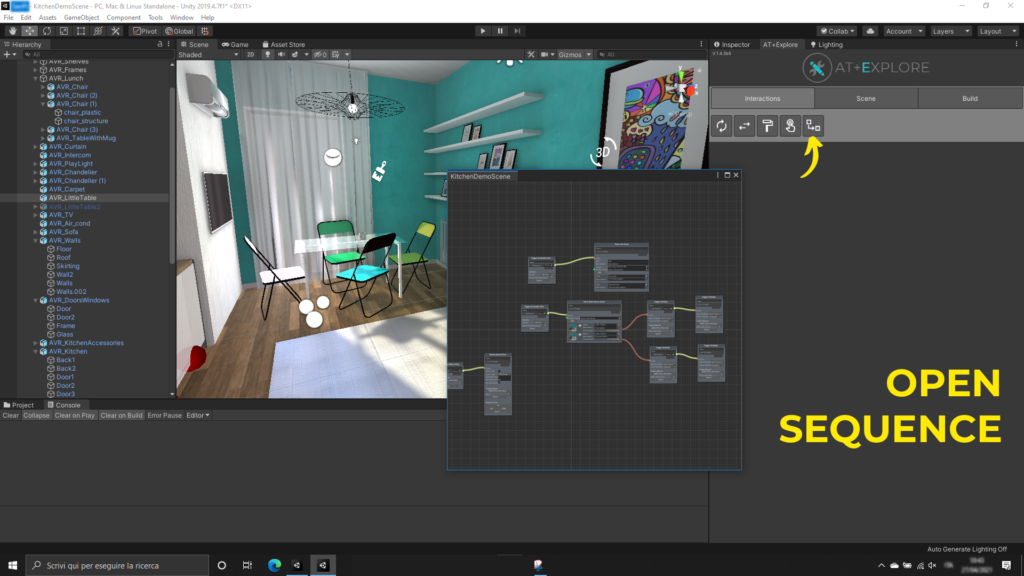
You can add or select the sequence holder using the last button in the Interaction tab.
STEP 2. Edit the Action Sequence Graph

As stated above, the Action Sequence Graph is a sequence of chained actions.
When creating a new Advanced Interaction for your scene you must think about these steps:
- What triggers the sequence? A button, an object, or it must start at the beginning of the experience?
- What is the sequence of events I need to present the user? Is there any choice he can do?

The first question is answered by the first node type, Triggers.
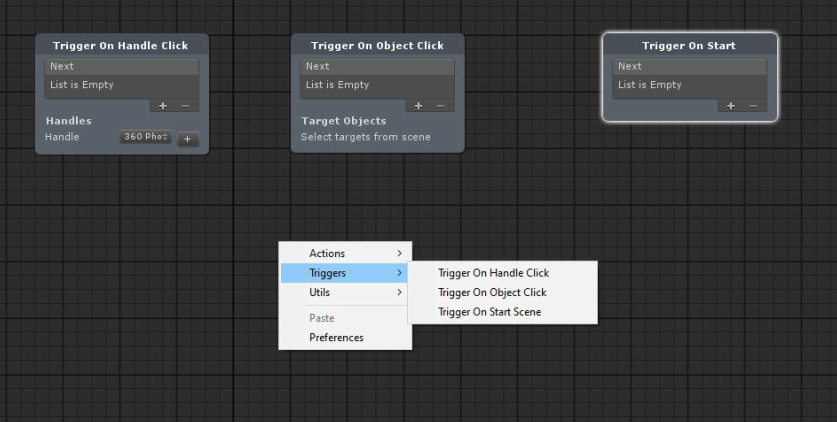
Every sequence starts with a trigger, there are 3 triggers right now, the names are self-explanatory:
● On Handle Click
● On Object Click
● On Start
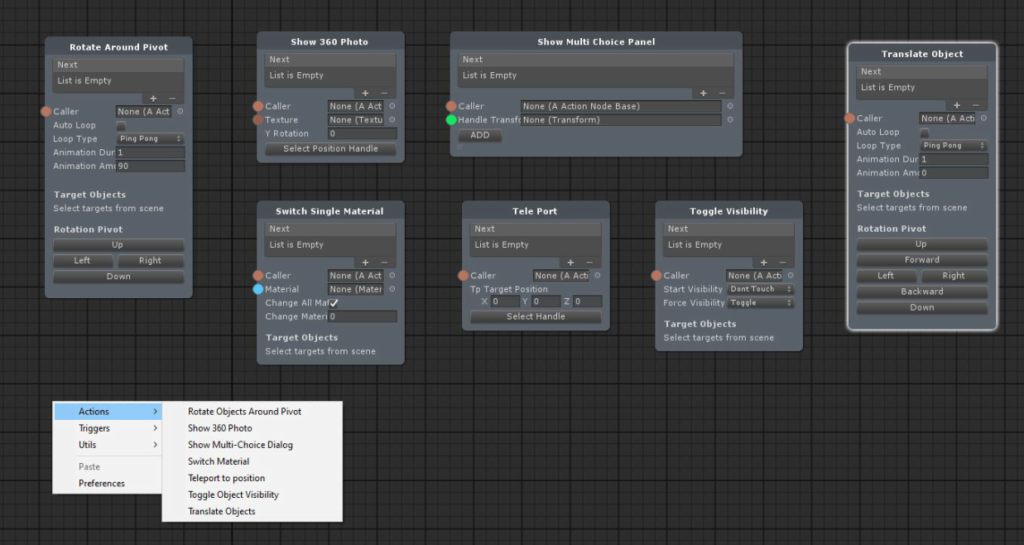
When the sequence has been triggered it’s time to add Actions

In the above image you can see the list of available actions.
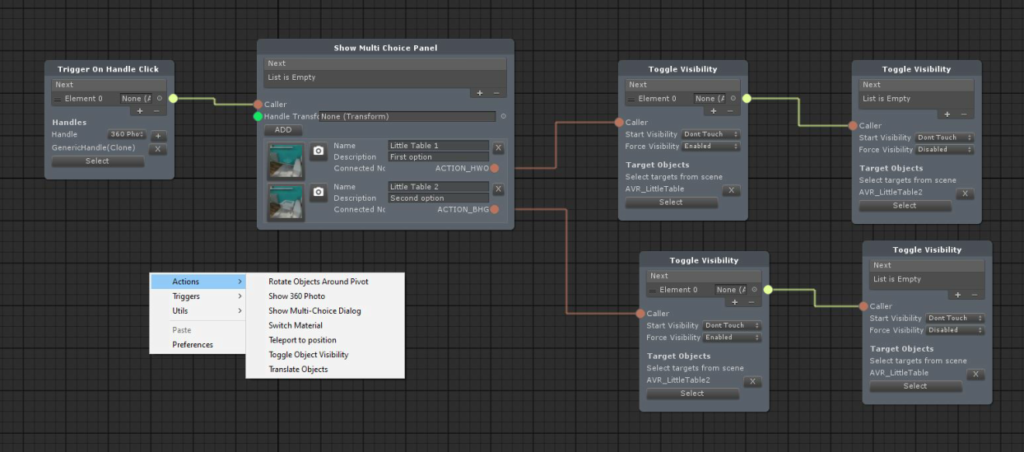
Every Trigger has a Next list, every action ha a Next list and a Caller attribute, if you connect a Next item of a Node A to the Caller attribute of Node B, during play mode the Node A will call the excecution of Node B.
Example: in the image below there’s a nice Action Sequence that will lights up a room by turning on one light at the time.

The first node is the Trigger, in this case we want the user to click on a switch on the wall so we can use Trigger On Object Click.
When the action is triggered we do a chain of actions:
- Turn on the first light
- Wait for 1 second
- Turn on the second light