The Revit plugin works like this:
- Select a 3D View to export
- The plugin will create a particular version of the 3D view and save it in a dedicated System folder
- The plugin from Unity will look for projects saved on that folder
So the process of exporting a View from Revit is super easy.
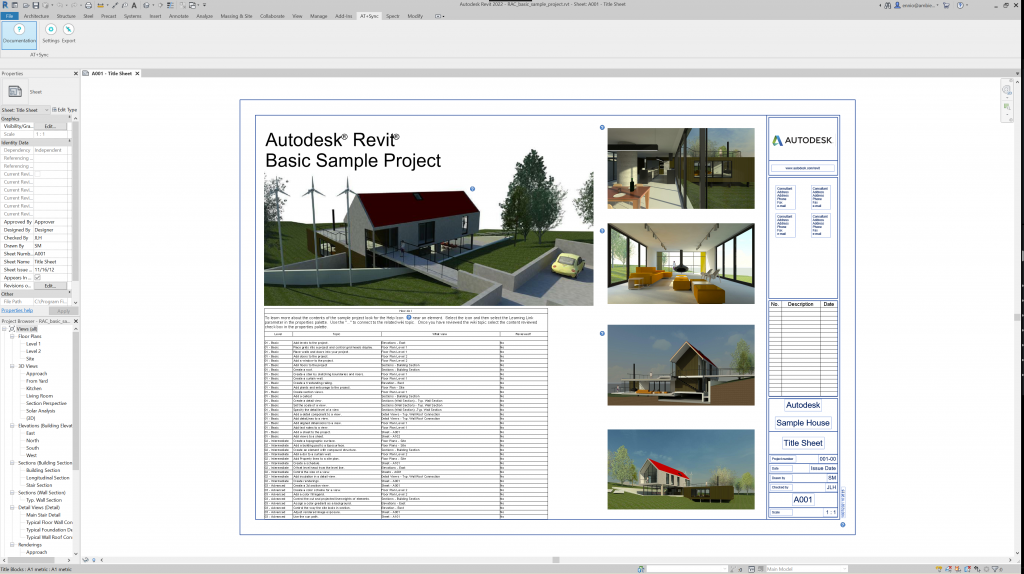
After the installation you’ll find a new AT+Sync tab:
First of all open the Export panel like the image below:
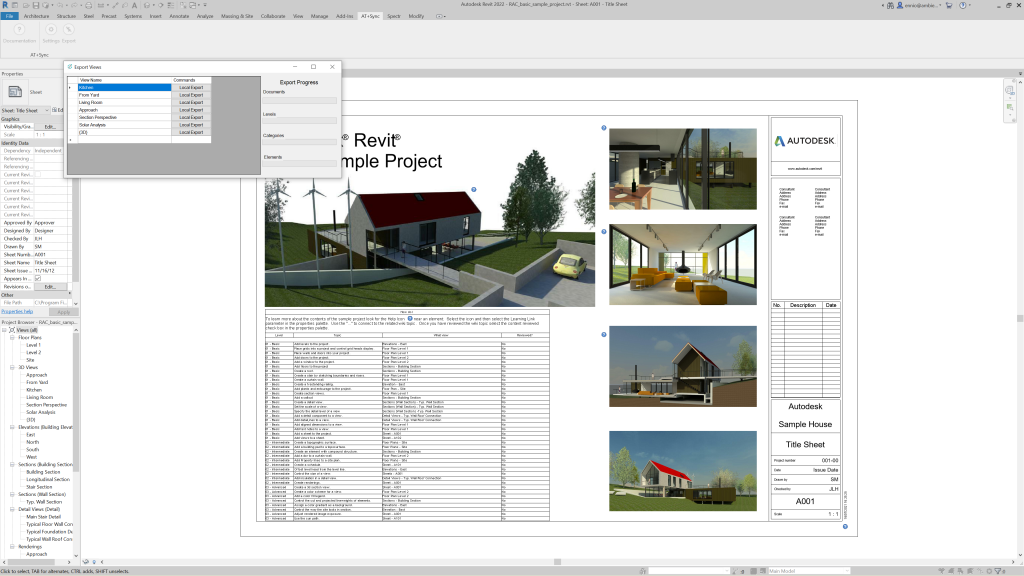
Then select the 3D View to export by clicking the right “Local Export” button:
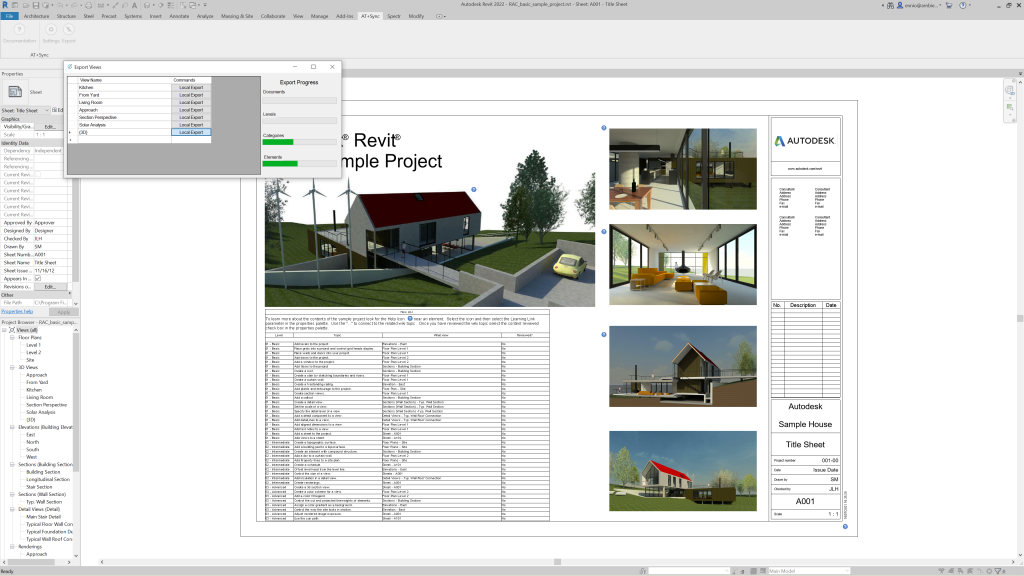
The export process will lock the Revit document in order to avoid concurrent read/write of the BIM document.
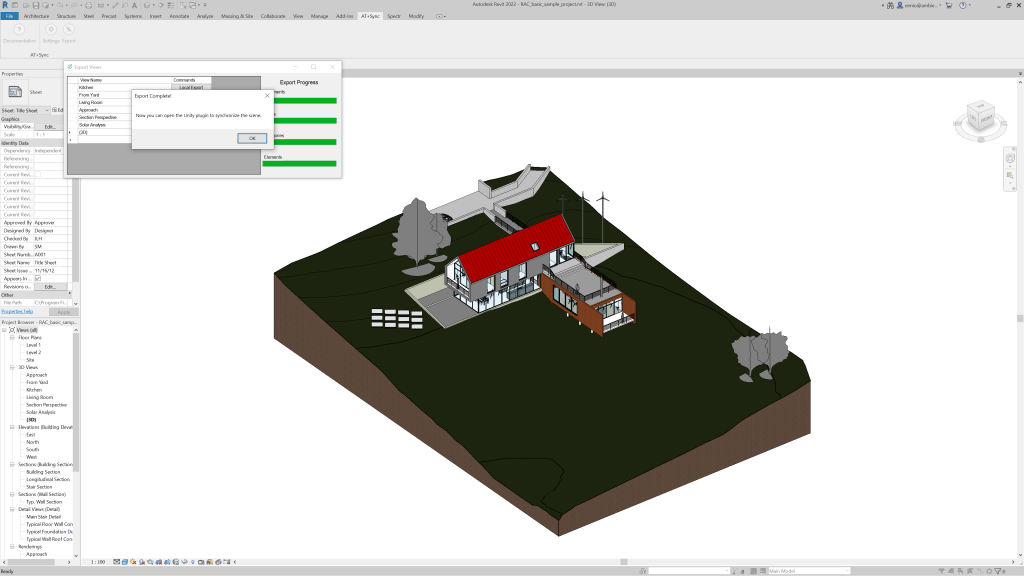
Once the export is complete you can open the Sync panel on Unity.