STEP 1 – Open AT+Materials Panel
AT+Materials is a single panel in the Unity Editor containing every function.
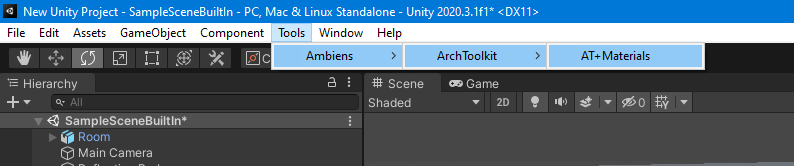
To open the panel, click on the top menu: Tools > Ambiens > ArchToolkit > AT+Materials.
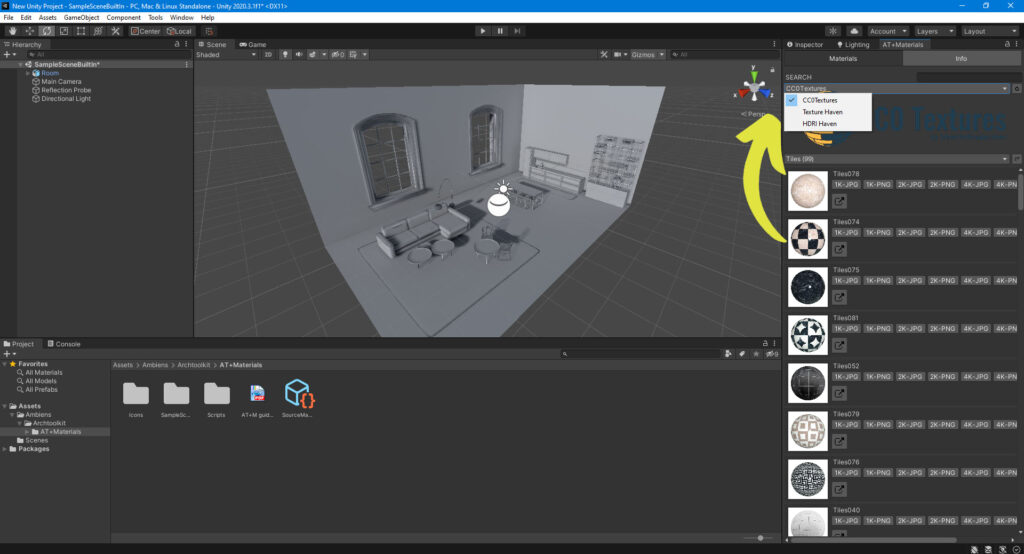
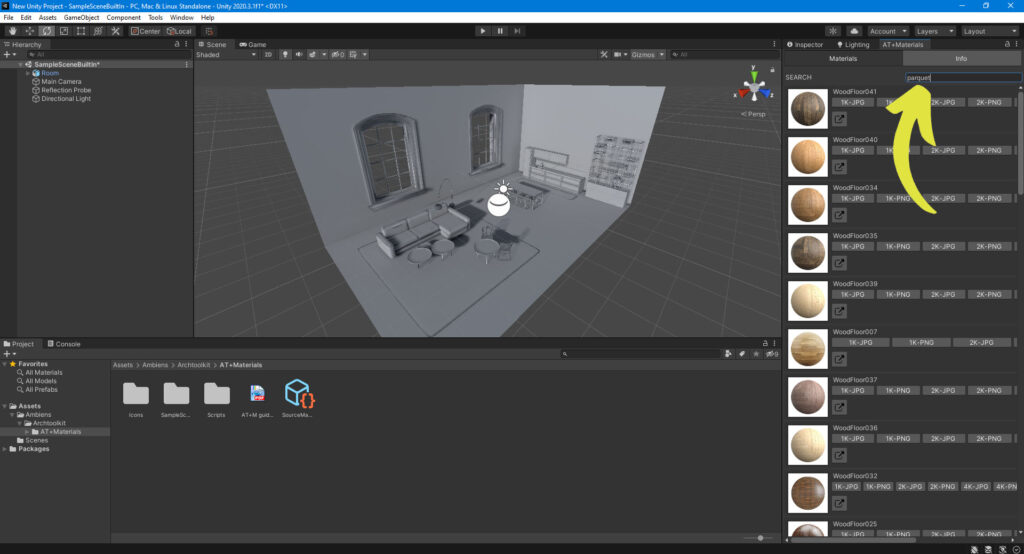
STEP 2 – Start the research
You can choose what to download either by opening the drop-down menu and choosing the source you prefer, or by typing the material you are looking for in the search bar.
STEP 3 – Choose
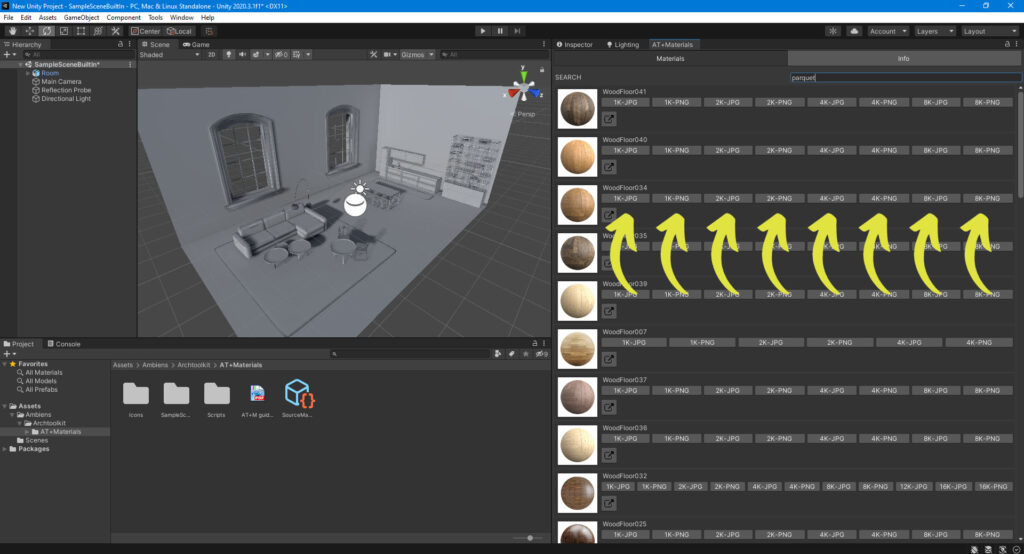
Now you have to choose between different file formats and resolutions. The Download folder will appear immediatly inside the Project Tab:
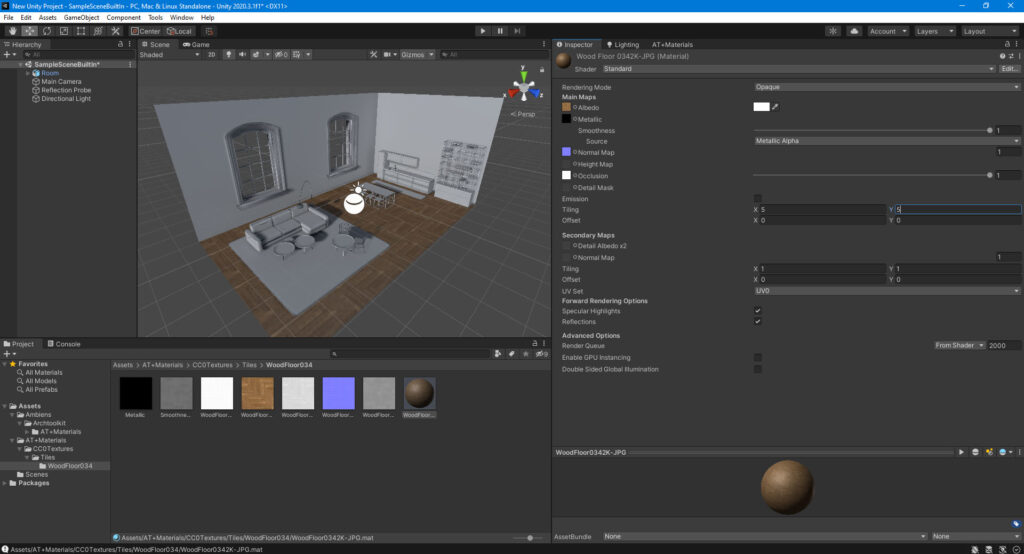
STEP 4 – Apply the material as usual
Note: AT+Materials will download different textures depending on the Render Pipeline of your Project.